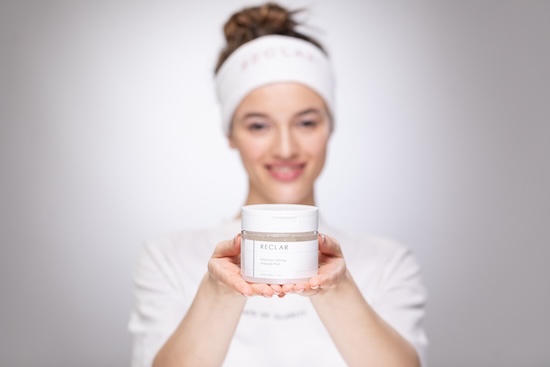
Proper make-up removal each evening is key to maintaining healthy and radiant skin. This statement might not come as a surprise, yet mistakes in make-up removal are still common. In today's article, we'll shed light on the most frequent mistakes in this process. Make-up removal is not just about erasing cosmetics; it's also about eliminating impurities accumulated on the skin throughout the day. We bring you useful tips on how to properly cleanse your skin, ensuring it stays clean, healthy, and hydrated.

Step 1: Choose the Right Make-up Remover
The first step is selecting the right make-up remover that matches your skin type and the make-up you use. For waterproof make-up, an oil-based remover is ideal, while lighter make-up can be removed with micellar water or a gentle cleansing gel. Be cautious with micellar waters as they can dry out the skin; for dry to combination skin, cleansing gels and foams free from unnecessary sulfates, parabens, alcohol, and synthetic fragrances and dyes are most suitable. Those with sensitive skin should particularly avoid these substances.
Step 2: Gentle Makeup Removal
Apply the make-up remover to a cotton pad and gently, yet thoroughly, remove make-up from the face, eyes, and lips. Be careful not to press too hard around the eyes to avoid irritating the delicate skin in this area. For a sustainable approach, consider reusable soft plush pads that can be washed and reused. However, ensure they are thoroughly cleaned to prevent bacteria and dirt accumulation. The market today offers a range of make-up removal sponges, many of which are made from natural materials, such as plant-based konjac sponges.
Step 3: Cleansing the Face
After removing make-up, it's time for a thorough facial cleansing. Use a cleansing gel or foam and apply it in circular motions across the face. This helps remove residual impurities, sebum, and dead skin cells. Twice a week, you can deep cleanse with an exfoliator; a peeler device can assist in this process, doing all the work for you. Remember that exfoliating twice to three times a week is sufficient, as more frequent use can irritate more sensitive skin types.
Step 4: Using Toner
After cleansing, apply a toner to balance the skin's pH, soothe, and prepare the skin for the next steps of care. To soothe the skin after exfoliating, you can use our calming ampoule pads with bamboo fiber and nanotechnology, ensuring high nutrient absorption and deep hydration thanks to the infused therapeutic serum.
Step 5: Hydration
The last but no less important step is hydration. Use your favorite moisturizer or serum to provide your skin with necessary moisture and nutrients. Remember, hydrated skin is the foundation of a healthy and youthful appearance. For better integration of moisturizing creams and serums, you can use the therapeutic blue and red light of the peeler to speed up the healing process and enhance the effects of your favorite cosmetics. Our face masks offer intense hydration, perfectly adhering to the face with natural healing ingredients, providing your skin with radiance and essential nutrients.
Additional Tips:
- Avoid using too hot water as it can dry out the skin
- Perform gentle movements, especially around the eyes
- Use only products designed for the face; other soaps can disrupt the skin's natural protective barrier
- Avoid micellar waters containing alcohol as they can unpleasantly dry out the skin.
- Don't forget the neck and décolleté, which should be part of your routine
- Remember, consistency is important in skincare
Proper make-up removal is an essential foundation for maintaining healthy, beautiful skin. It's not just a routine but also a moment for yourself, where you can pamper your skin and prepare it for regeneration during the night. Make this ritual a delightful moment you look forward to each day. Enhance your bedtime beauty routine with relaxing music, your favorite podcast, or by reflecting on what made you happy that day.


